
PEFO Excel Add-In User Guide
PEFO Excel Add-in can be used for generating customized reports based on the available data.
Step 1 – Install PEFO Add-In for Excel
1. Login to Office365 Admin Console
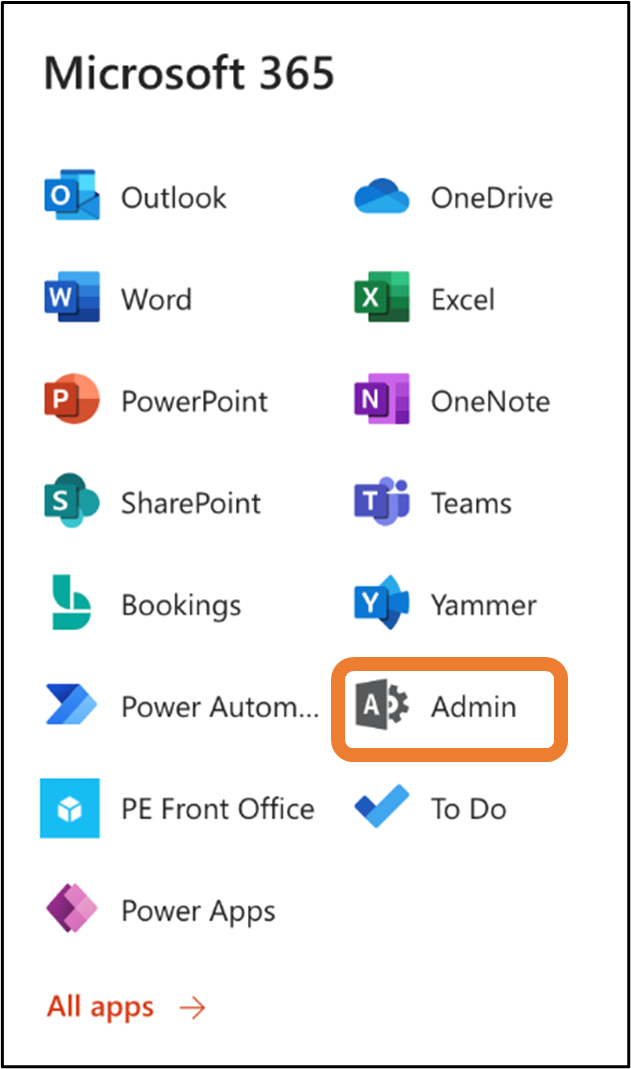
2. Access “Admin”
3. On Admin Center click “Integrated Apps”
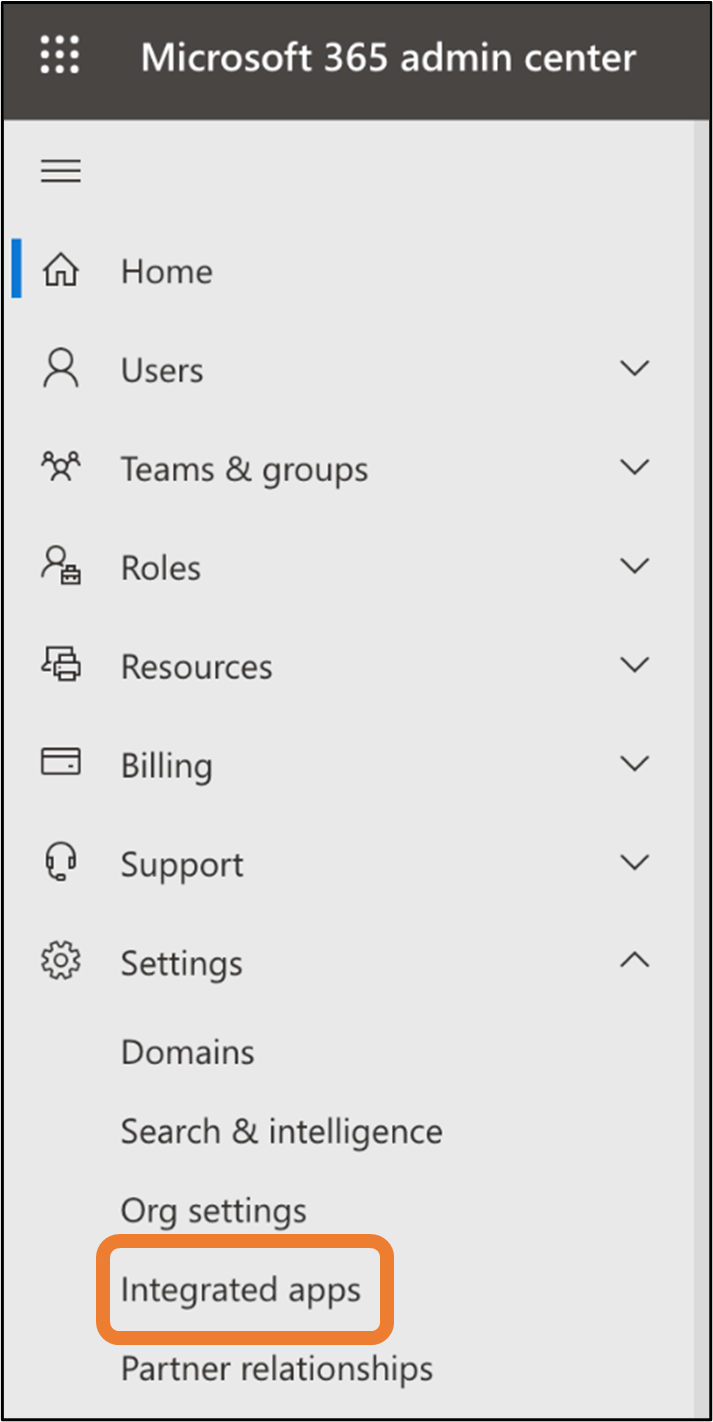
4. On “Integrated Apps” screen click “Upload Custom Apps”
5. In pop-up “Upload Apps to Deploy” select “Provide Link to manifest file”
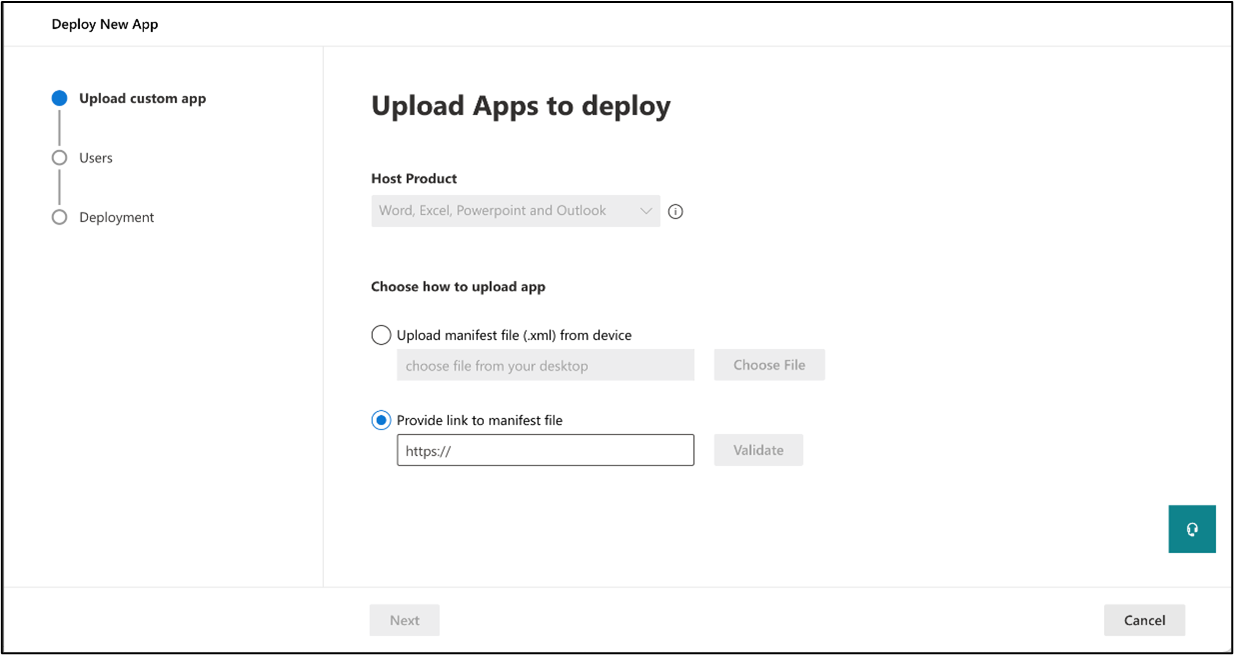
6. Enter the URL: For example: https://pefotest.sumantrasolutions.com/version5/excel_addin/manifest_pefo_exceladdin.xml
7. Click Validate
8. Click Next and select Target User Group (All)
9. Click Next and complete Deployment
10. After 1-2 hours the add-in will be available in Excel to Add
a.
Open a new Excel
b.
From menu select Insert->Add Ins->Get Add-Ins
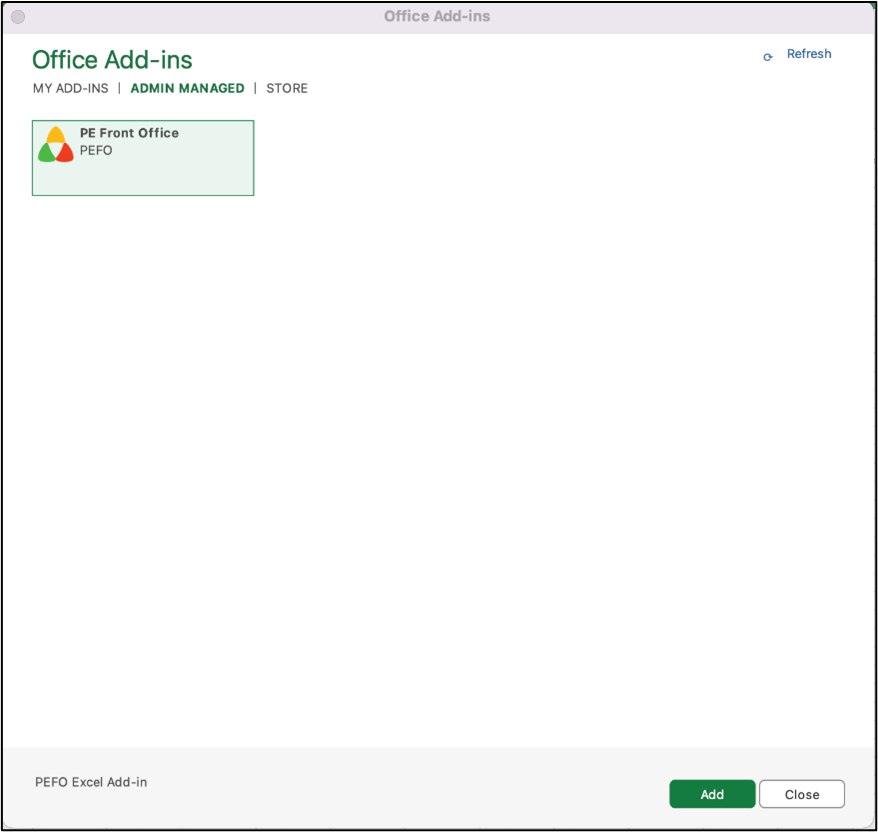
c. In Office Add-Ins pop-up click on “Admin Managed”
d. Select “PE Front Office” add-in and click Add
Step 2 – Login to PEFO Add-In for Excel
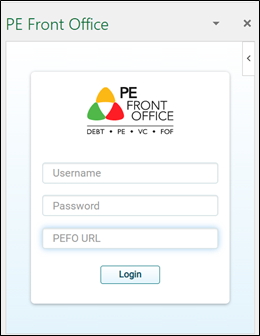
1. Once the user has installed the Add-In, the PEFO icon with ‘Connect to PEFO’ will be visible on Home Tab when an Excel workbook is opened.

2. Click on ‘Connect to PEFO’, the Login screen will pop up.
3. Enter the ‘Username’, ‘Password’ and ‘PEFO URL’ to login to the dedicated instance.
Step 3 – Generating customized reports using PEFO Add-In for Excel
1. After logging into the add-in, two tabs are visible: ‘Query’ and ‘Reports’
2. Extracting data in excel from PEFO: Query tab enables the user to run any query and extract data into the excel based on the existing fields and data in the PEFO system.
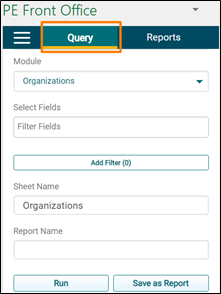
a. Under Query tab, the user can select the ‘Module’ from which you want to extract the data
b. Then the fields and filters can be defined to streamline the data that is required.
c. There is an option to update the sheet name directly from the add-in via ‘Sheet Name’ field.
d. There are two options after the user has streamlined the requirement, ‘Run’ the query or ‘Save as Report’
e. ‘Run’ helps the user to extract the data in the excel workbook, slice &dice, and use. Whereas ‘Save as Report’ helps the user to save that query for future use over and above the functionalities enabled after ‘Run’
f. While saving any query as a report, the user must enter the ‘Report Name’ also.
3. Saving reports for future purposes: This tab enables the user to use/access the queries which have been saved as report by the same user, or by the users in the case that report has been marked public.
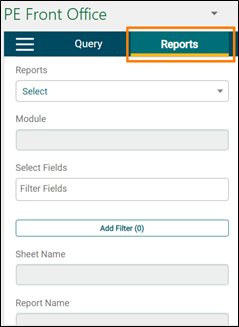
a. The user can select any report from the ‘Reports’ dropdown
b. Other fields get auto-populated based on the report selected
c. The user can update the information mentioned under different fields other than ‘Module’
d. ‘Share with All’ checkbox enables the user to mark any report as public, and then that report is visible to all the users of that instance.
e. There are two options after you have selected the report and made any changes, ‘Run’ and ‘Save.’
f. ‘Run’ helps the user to show the data for the selected report.
g. ‘Save’ helps the user to save the updates done in the existing report.